
Why Deep-Cleaning Your Makeup Brushes is Essential
Makeup brushes are essential tools for any beauty enthusiast. Over time, however, they accumulate dirt, oil, and bacteria, which can lead to skin issues such as breakouts and irritation. Regular cleaning not only helps maintain the quality of your brushes but also ensures a flawless makeup application. In this article, we’ll explore how to deep-clean your makeup brushes using common household items.
Understanding the Importance of Clean Brushes
Using dirty brushes can negatively impact your skin. Here are some key reasons to keep them clean:
- Prevents Breakouts: Bacteria and leftover makeup can clog pores, leading to acne.
- Improves Makeup Application: Clean brushes provide a smoother application and better blending.
- Extends Brush Lifespan: Regular cleaning can help your brushes last longer.
- Allergy Prevention: Reducing allergens on brushes can help those with sensitive skin or allergies.
Household Items You Can Use
Cleaning your brushes doesn’t have to require expensive brush cleaners. Here are some effective household items:
- Dish Soap: Ideal for breaking down greasy makeup residues.
- Olive Oil: Great for conditioning the bristles.
- Apple Cider Vinegar: Helps disinfect and remove buildup.
- Warm Water: A necessary component for rinsing your brushes.
- Baby Shampoo: Gentle enough for your brushes while effective in cleaning.
Step-by-Step Guide to Deep-Clean Your Brushes
What You’ll Need:
- Dish soap or baby shampoo
- Olive oil (optional)
- Apple cider vinegar
- Warm water
- A small bowl
- A clean towel
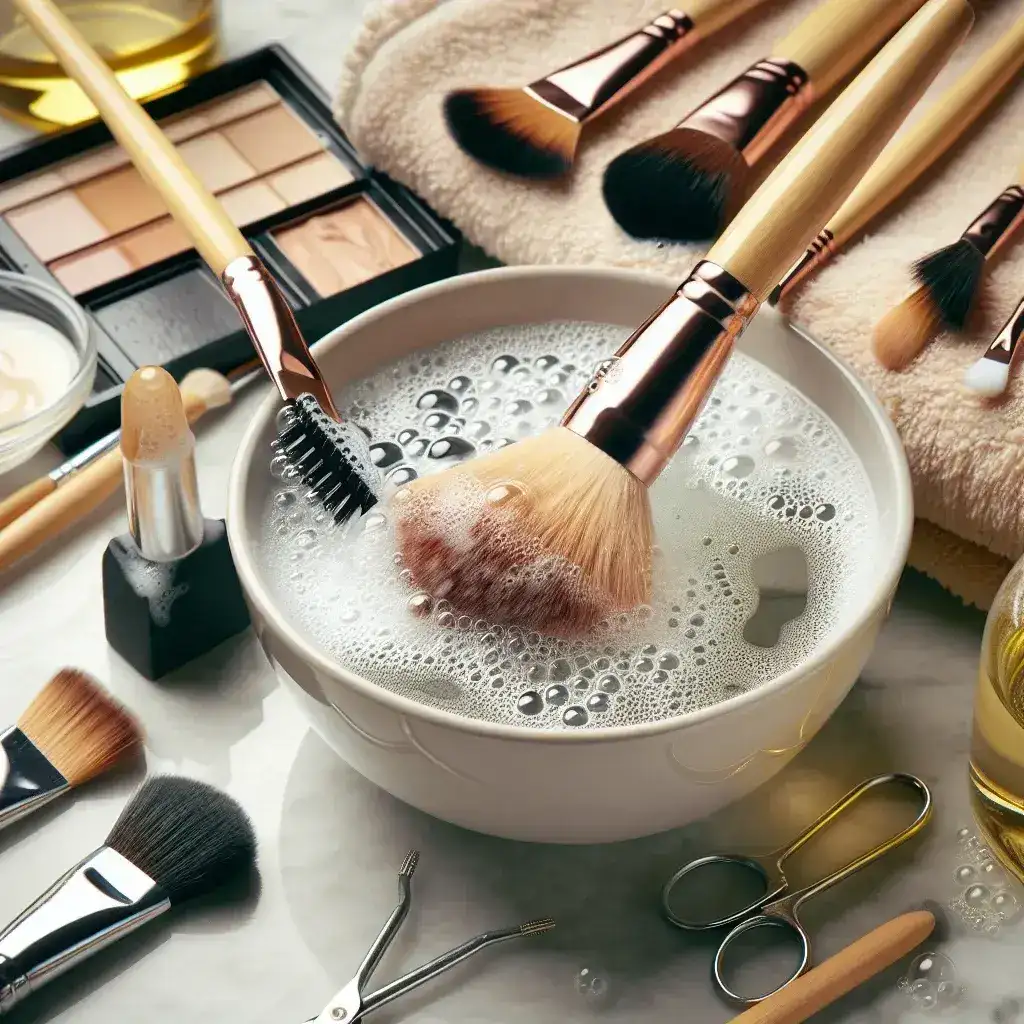
Step 1: Prepare Your Cleaning Solution
In a small bowl, mix one part dish soap to two parts warm water. If you want added conditioning, add a teaspoon of olive oil. For a disinfecting solution, mix equal parts of apple cider vinegar and water.
Step 2: Wet the Brushes
Turn on the faucet and let warm water run. Make sure to keep the brush heads facing downwards to avoid water getting into the ferrule (the metal part) which can loosen the glue over time.
Step 3: Clean the Bristles
Dip the brush into your cleaning solution and gently swirl it around. For brushes with dense bristles, use your fingers to massage the bristles, focusing on areas with heavy makeup buildup.
Step 4: Rinse Thoroughly
Rinse the brush under warm water again, making sure to keep the bristles facing downwards. Repeat the cleaning process if the water runs cloudy.
Step 5: Condition Your Brushes (Optional)
If you used dish soap, you might benefit from conditioning your brushes. Dip the bristles in olive oil for a few seconds, then rinse again to remove any excess oil.
Step 6: Drying Your Brushes
Gently reshape the bristles and lay the brushes flat on a clean towel to dry. Avoid standing them upright in a cup, as this can cause water to seep into the ferrule.
Additional Tips for Maintaining Clean Brushes
- Frequency: Clean your brushes at least once a week for daily users or at least once a month for occasional users.
- Spot Cleaning: Use a spray of rubbing alcohol for quick clean-ups between deeper cleans.
- Storage: Store brushes upright in a holder to maintain their shape and protect the bristles.
Conclusion
Cleaning your makeup brushes is an essential part of your beauty routine that should not be overlooked. By utilizing common household items, you can effectively deep-clean your brushes, ensuring they remain in top condition while protecting your skin’s health. Regular upkeep will lead to better makeup application and prolong the life of your favorite tools. Start today and enjoy the benefits of beautifully clean brushes!